
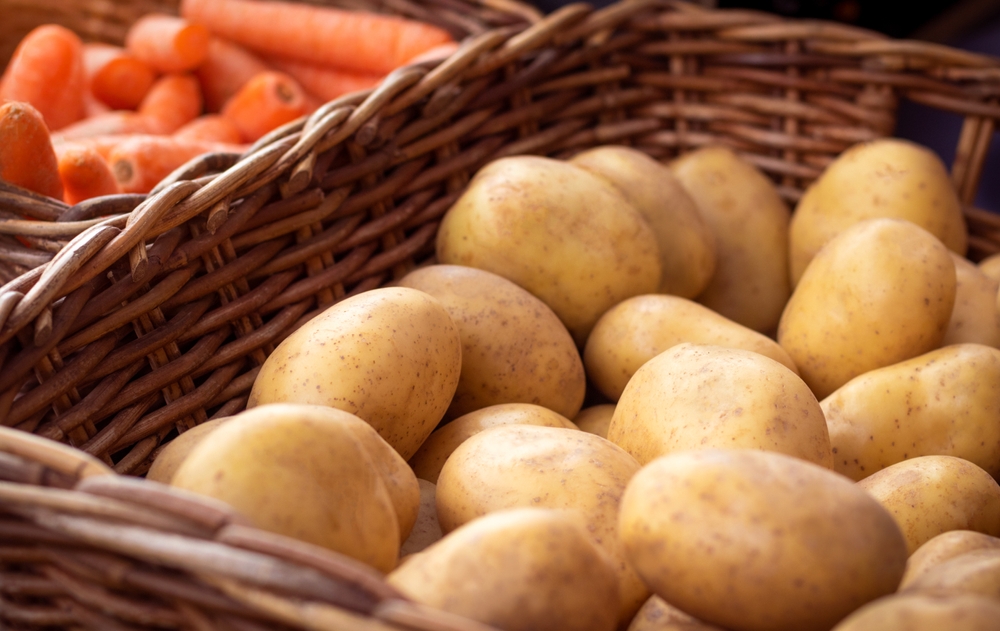
There is nothing ordinary about growing a truly successful potato crop. While the humble potato may appear low-maintenance, achieving a large and healthy yield requires precise timing, proper soil conditions, and disciplined care throughout the season. Too often, gardeners are disappointed by stunted plants, low output, or tubers ruined by pests or disease. The truth is that potato reward attention to detail, and a small investment in planning can lead to a much larger harvest.
Potatoes grow underground, which means you do not see your progress until the end. By the time problems become visible above the soil, damage to the developing tubers has often already occurred. This is why soil health, pest control, and careful observation are critical at every stage. Every factor, from planting depth to irrigation schedule, affects not only how many potatoes you get, but also how large and nutritious they are.The good news is that potatoes are one of the most forgiving crops once their basic needs are met. They are adaptable, able to grow in beds, containers, or even sacks, and they thrive in both rural farms and small urban patios. With the right strategies, even beginners can turn a few seed potatoes into a season’s worth of food. These 15 tips offer reliable ways to significantly boost your harvest without requiring high-tech equipment or professional expertise. With consistency and care, your potato patch can outperform expectations and become one of the most productive parts of your garden.
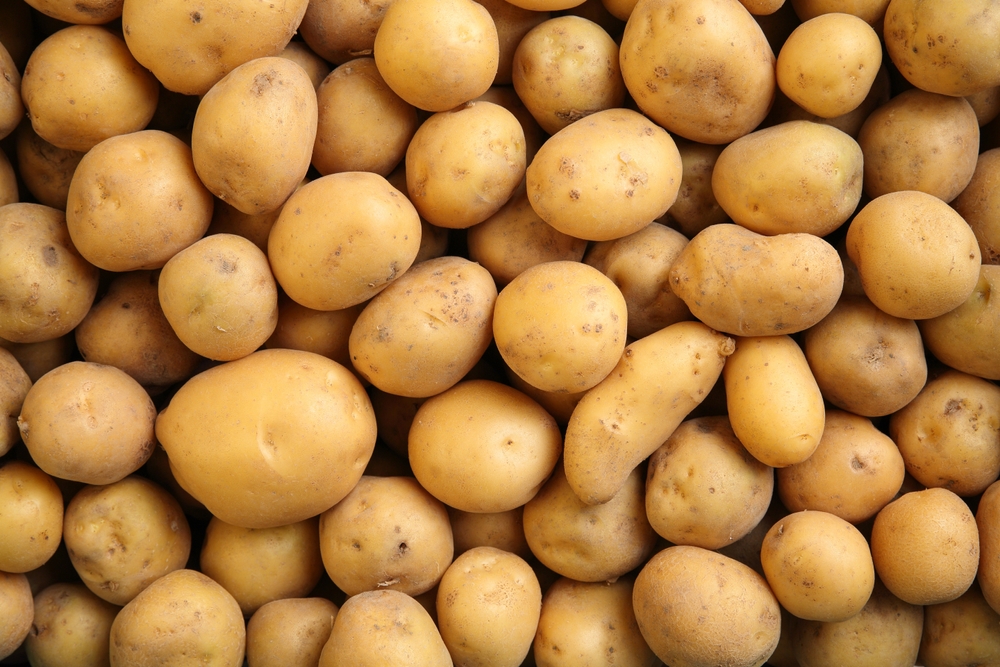
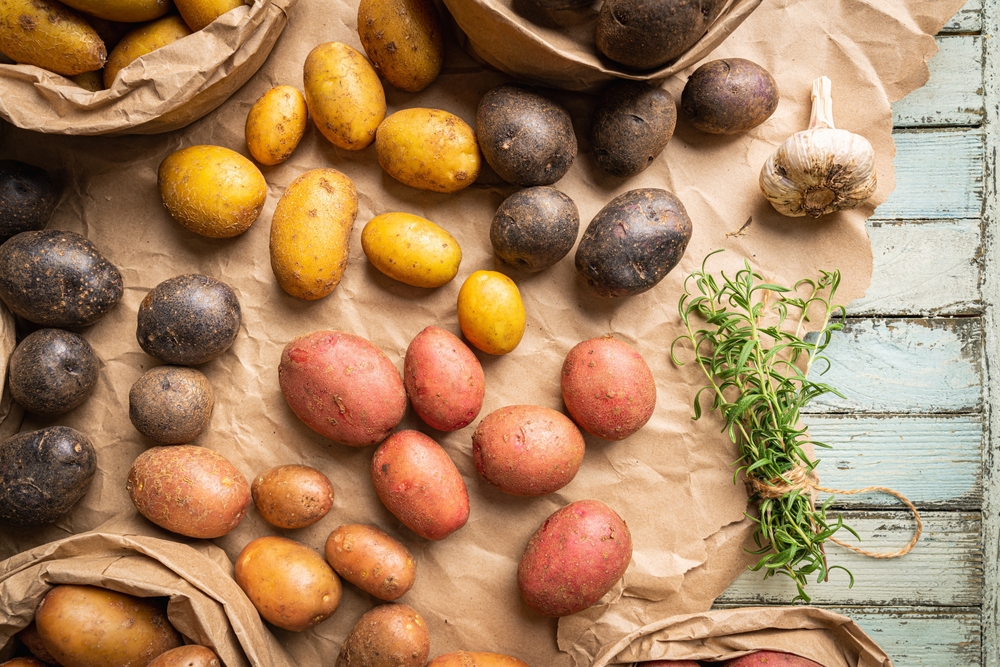
Use Only Certified Disease-Free Seed Potatoes
Skip the supermarket spuds. Certified seed potatoes are bred for agricultural use, free from pathogens, and tested to prevent common blights. Tubers from your pantry could carry invisible diseases or be sprayed with chemicals that hinder growth. The right se ed potato offer genetic stability and uniform development. For long-term gardening success, stick to suppliers known for high health standards. This reduces crop loss and protects your soil for seasons to come.
Sprout Your Tubers First With Chitting
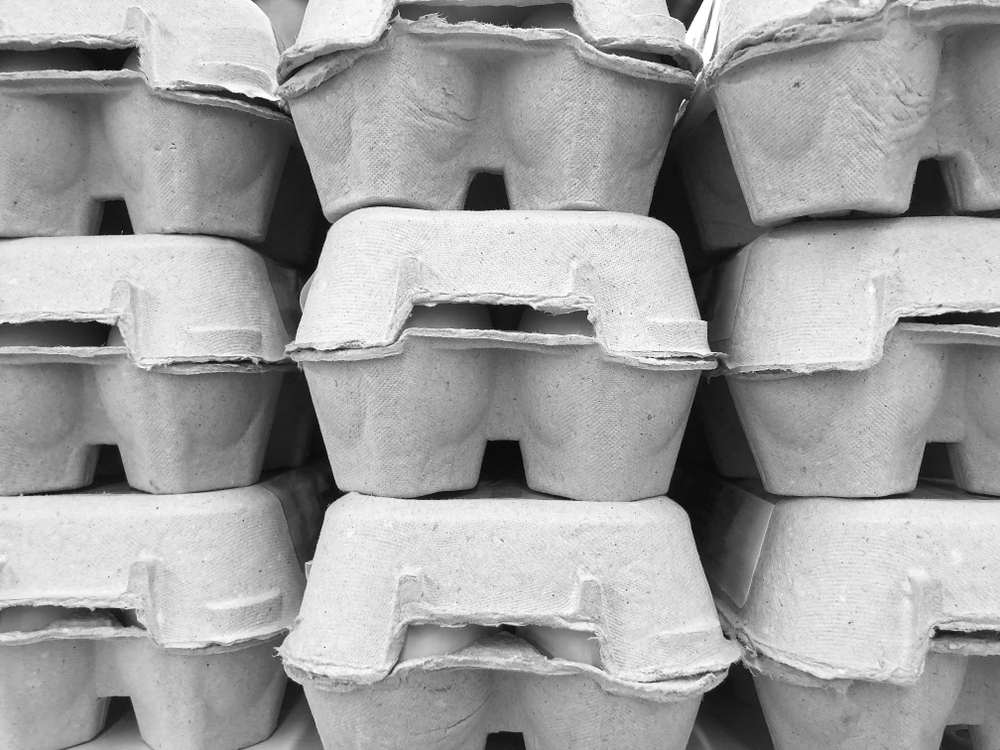
Chitting breaks dormancy before planting. This encourages early and strong growth. Place tubers in egg cartons with the eyes facing upward in natural light. Avoid heat or darkness, as both can produce weak sprouts. Optimal conditions include temperatures around 10 to 15 degrees Celsius. Shoots should be short and stubby, not long and leggy. Well-chitted tubers can mature 2 to 3 weeks earlier than non-chitted ones, a major bonus in areas with short seasons.
Prioritize Loamy, Loose, and Rich Soil
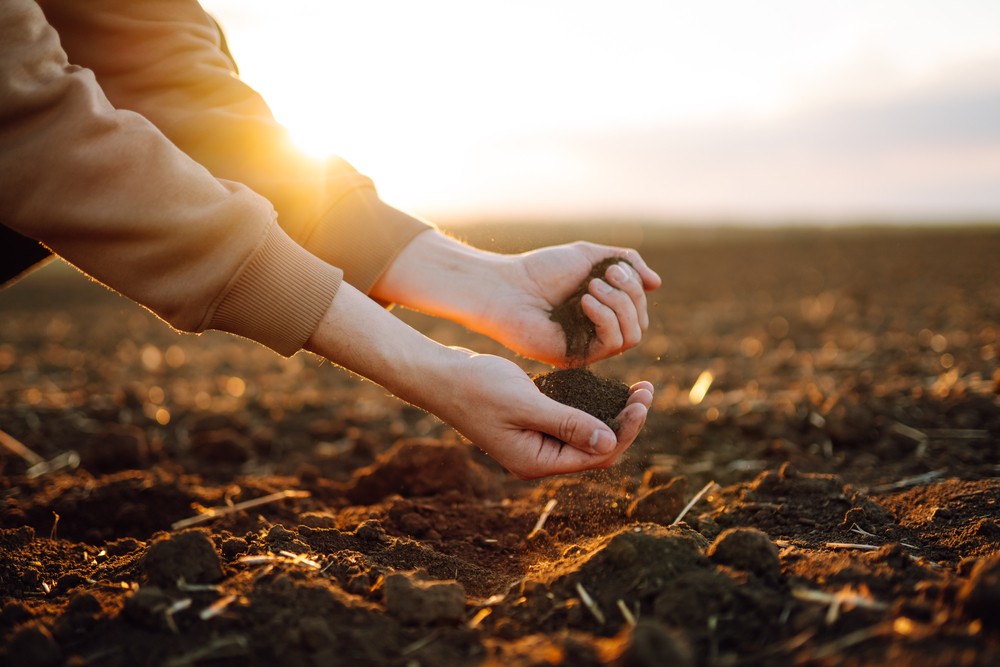
Potato’s need a soil texture that offers oxygen, drainage, and room to swell. Clay retains water and strangles tubers, while sandy soil may lack nutrients. Aim for a balanced mix amended with composted manure or green waste. Soil should crumble in your hand and not clump into tight masses. Raised beds, where soil structure is easier to control, offer better results. If using native soil, double-dig or use a broad fork to break up compaction before planting.
Check and Balance Your Soil pH
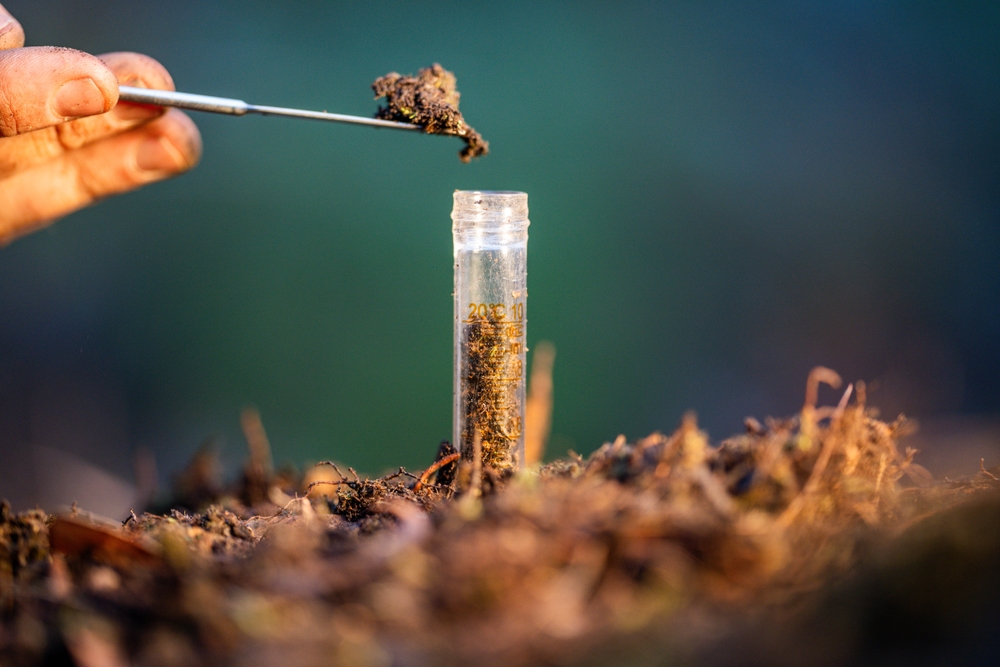
Soil pH affects nutrient uptake and disease susceptibility. Too alkaline, and your potatoes could develop common scab. Test kits are inexpensive and accurate enough for gardeners. To lower pH, add sulfur, peat moss, or pine compost. Avoid lime and wood ash, which raise alkalinity. The ideal pH range for potatoes is narrow, between 5.0 and 6.0. Test annually, as crop rotation, rainfall, and added fertilizers can change soil chemistry quickly.
Get Your Planting Depth Just Right
Seed pieces buried too deep can rot, especially in heavy soil. Too shallow, and tubers may turn green from light exposure. Aim for a depth of 10 to 15 centimeters. Cover with loose soil or mulch. Deeper planting in dry regions may help conserve moisture. In wetter areas, shallow planting with early hilling is better. Monitor your soil’s drainage and rainfall to adjust depth annually. Consider experimenting with two depths side-by-side in a test patch.
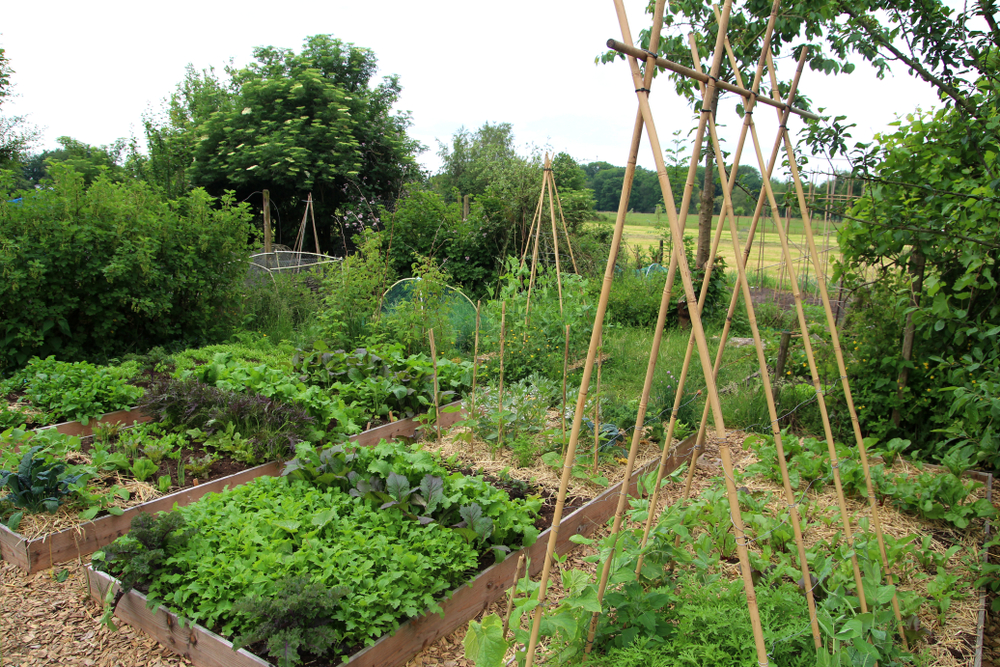
Allow Enough Space for Each Plant to Breathe
Spacing matters. Too close, and plants compete for light, water, and nutrients. Airflow drops, and fungal issues rise. Give 30 centimeters between plants and 60 to 90 centimeters between rows. For small gardens, try a zigzag or offset pattern to maximize airflow and reduce shading. Container growers should use pots at least 40 centimeters wide. Denser spacing may yield more plants, but with smaller tubers. Wide spacing promotes fewer, larger potatoes.
Read More: 10 Gardening Mistakes That Are Ruining Your Plants
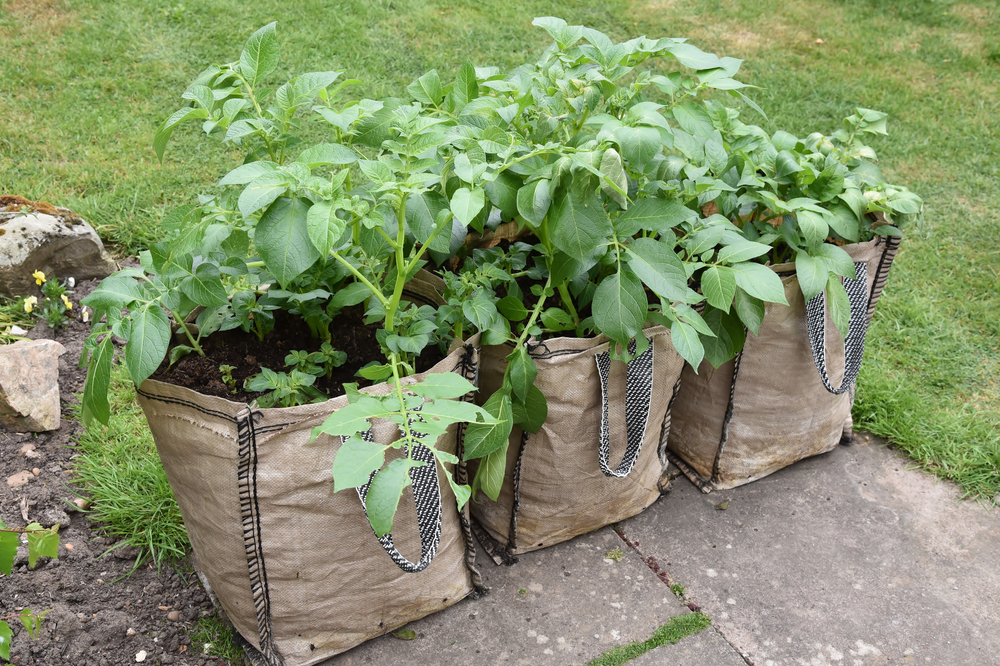
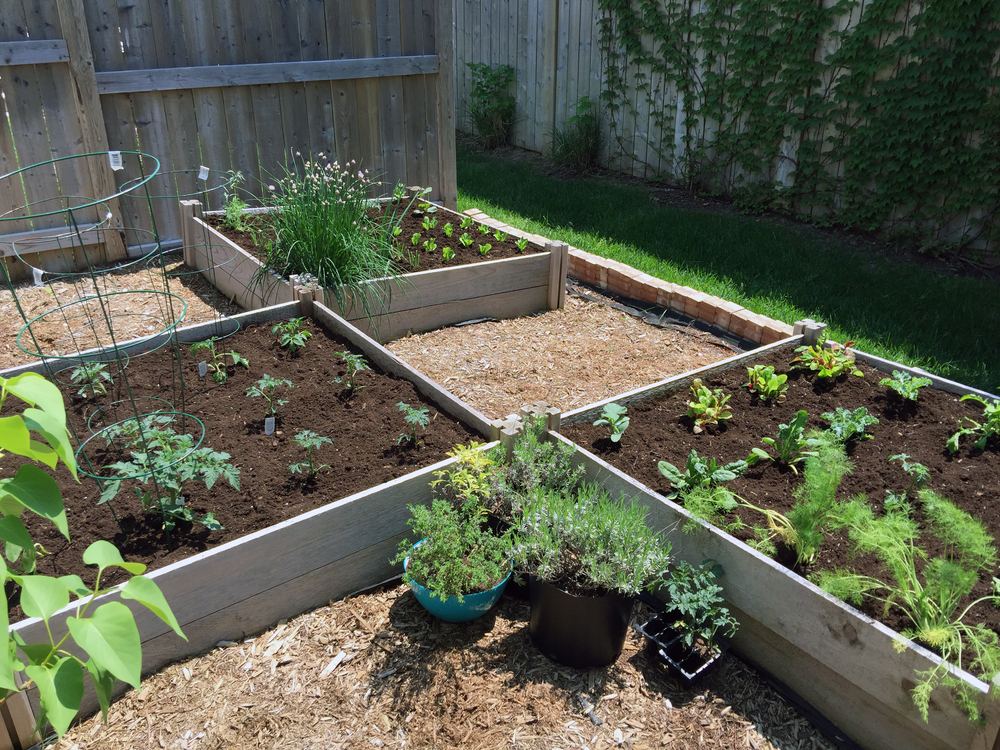
Use Containers, Grow Bags, or Raised Beds for Control
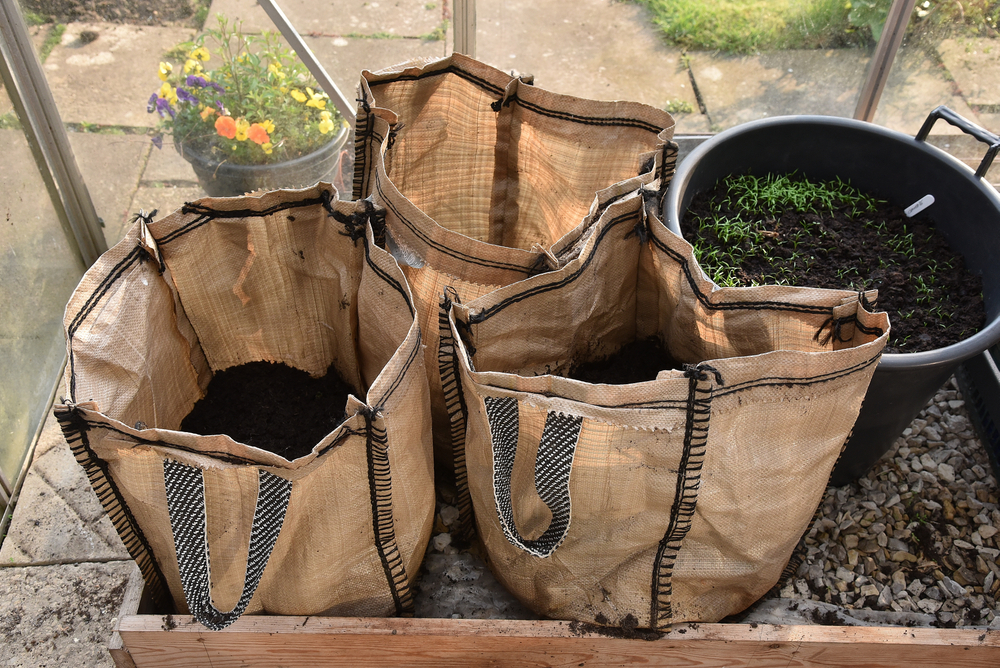
If your soil is poor or unavailable, grow potatoes in containers. Choose breathable fabric grow bags or deep bins with drainage holes. Line the bottom with straw or compost. Use rich, fluffy potting mix with added slow-release fertilizer. Start with a shallow layer, plant your seed tuber, and add soil as shoots grow. This mimics the hilling process and keeps tubers covered. Container-grown potatoes are less likely to suffer from soil-borne diseases and are easier to harvest.
Hill Your Plants for Bigger Potato Yields
Hilling is one of the most overlooked yield boosters. As the plant grows, add more soil around its base. This encourages underground stem sections to produce more tubers. Start when plants are 15 to 20 centimeters tall. Repeat every 2 to 3 weeks until flowering. Use garden soil, compost, or straw. Keep hilled material loose and not compacted. If light reaches forming tubers, they turn green and become toxic. Hilling prevents that and boosts productivity.
Water Deeply and Consistently Throughout the Season
Potatoes are sensitive to water stress. Inconsistent moisture causes cracking, hollow centers, or misshapen tubers. Use a drip system to deliver water directly to the root zone. Aim for 2.5 to 3 centimeters of water per week. In hotter climates, more may be needed. Avoid watering late in the day to reduce fungal risks. As the plants near maturity, taper off water to allow the skins to harden for storage. Overwatering late in the season invites rot.
Feed Plants With Balanced, Low-Nitrogen Fertilizer
High nitrogen leads to lush foliage and small tubers. Apply a balanced fertilizer like 10-20-20 at planting time and again during hilling. Phosphorus and potassium support root and tuber development. Organic options include bone meal, kelp, or fish emulsion. Avoid feeding during flowering, as it can interrupt tuber growth. Side-dress compost midway through the season for a nutrient boost. Soil tests help guide fertilizer choice based on deficiencies. Overfeeding is just as bad as underfeeding.
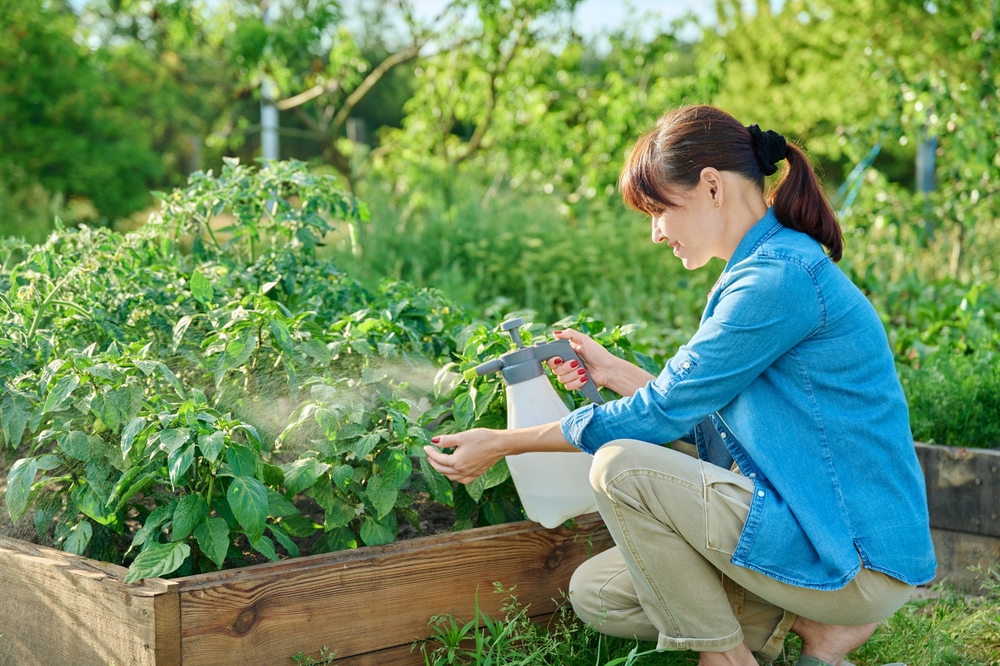
Stay Vigilant for Pest Damage and Disease Signs
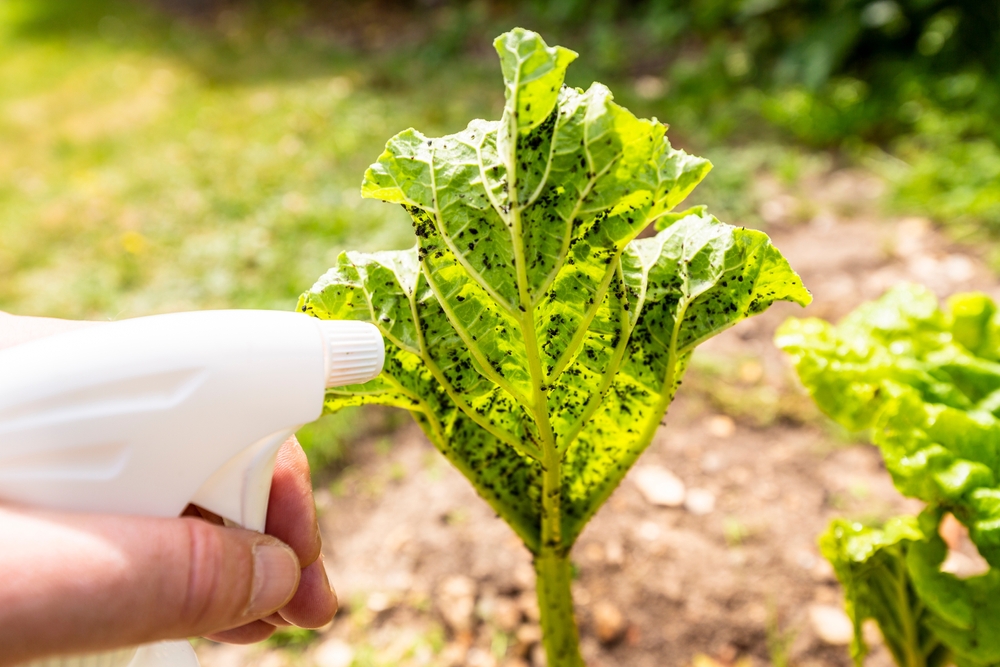
Potato beetles, aphids, slugs, and fungal diseases. Inspect the underside of leaves weekly. Remove beetles by hand or use neem oil as a deterrent. Floating row covers can block early pest infestations. Blight spreads in warm, moist conditions and appears as brown leaf spots. Immediately remove infected leaves and discard them off-site. Rotate crops every three years to prevent soil-borne diseases. Do not compost infected plants. A clean growing environment reduces many common issues.
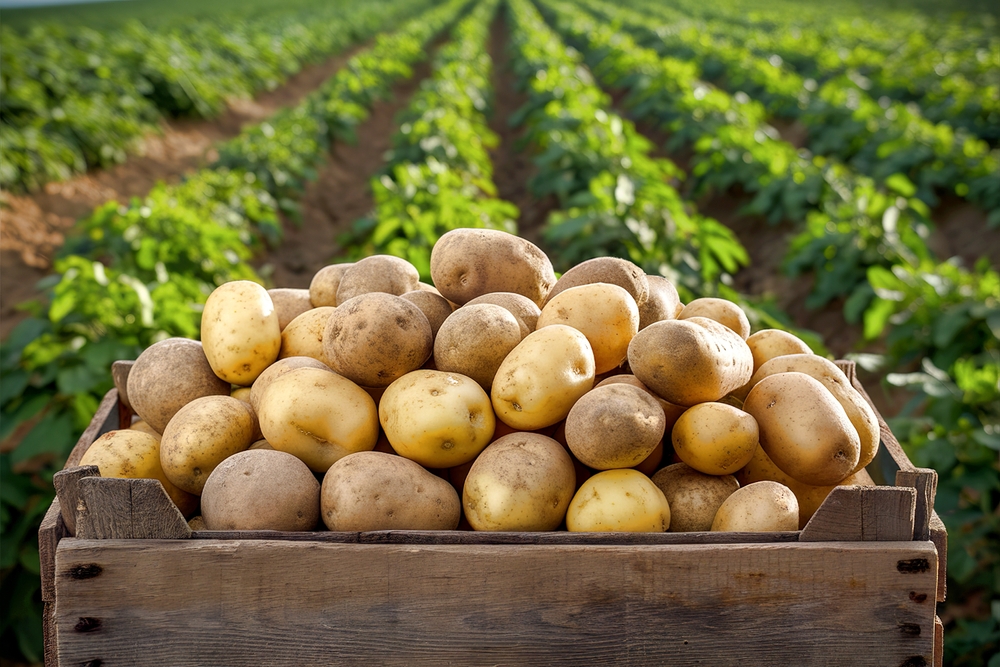
Let Plants Die Back Before Harvesting Main Crop
Resist the urge to dig early. Mature potatoes yield more weight and store longer. Once vines yellow and collapse, wait an extra 10 to 14 days before harvesting. During this time, skins thicken and tubers stabilize. Do a test dig to check readiness. Skins should not rub off easily. If harvesting early, handle gently to avoid bruising. Use a garden fork to lift the plant, working from the side to avoid stabbing tubers.
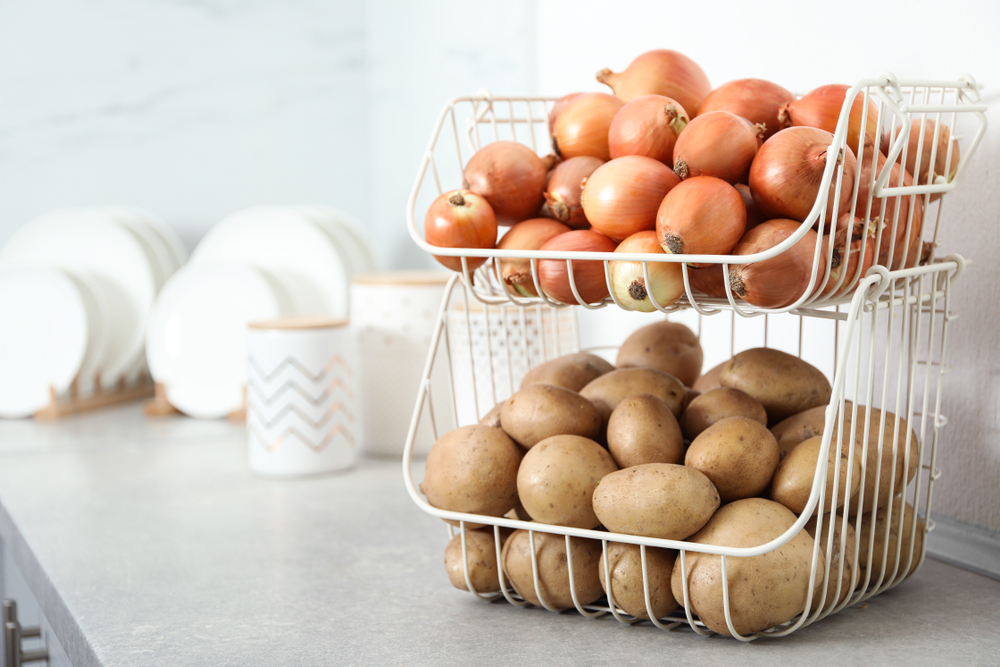
Cure Potatoes Before Storage for Better Shelf Life

Freshly harvested potatoes are vulnerable to spoilage. Cure them in a dark space with good airflow at 10 to 15 degrees Celsius for 10 days. Do not wash before curing. Dirt helps protect the skin. Once cured, store in breathable containers like mesh bags or baskets. Keep in a cool, dark space with stable humidity. Ideal storage areas include root cellars, garages, or ventilated closets. Check monthly for sprouting or soft spots. Remove any bad tubers to protect the rest.
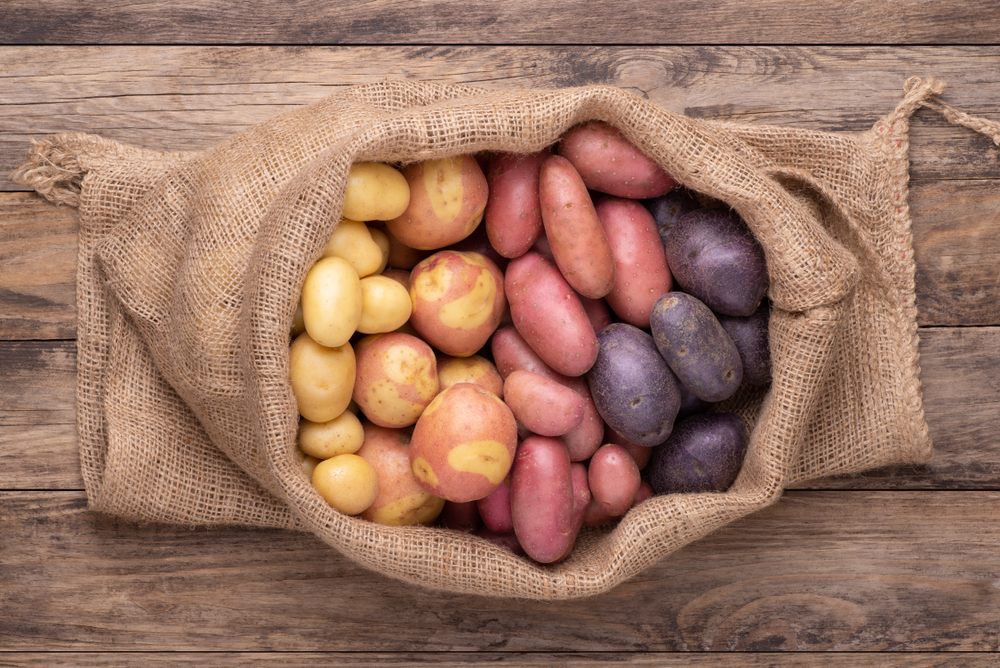
Avoid Kitchen Potatoes for Replanting Next Season
While tempting, kitchen potatoes are risky for use as seed. Many are sprayed with chemicals that suppress sprouting. They can also carry latent diseases, such as ring rot or mosaic virus. These issues may not show until late in the season and can destroy soil quality for years. If saving your own seed, select healthy, mid-sized tubers. Store in a paper bag in a cool space. Rotate seed stock every 2 to 3 years to avoid inbreeding or disease accumulation.
Save the Best for Seed, and Adapt for Your Climate
The best seed potatoes often come from your own garden. Select the highest-yielding plants and save clean, medium-sized tubers. Avoid those with scabs, cracks, or irregular shapes. Store in a breathable container over winter. Label by variety and harvest date. Replanting adapted seed year after year builds resilience in your local microclimate. You will see stronger growth and better resistance over time. Treat seed saving as a long-term strategy, not a shortcut.
The Potato Growth Cycle Demands Patience and Precision
From planting to harvest, potatoes pass through several stages: sprouting, vegetative growth, flowering, and dieback. Tubers swell mostly during flowering and early dieback. Timing nutrient and water application to match each phase leads to optimal yield. Even small mistakes, like uneven watering or skipping hilling, can cost you kilos of food. Learn your potato variety’s timeline and mark key milestones in your garden calendar. The more you observe, the better you adapt.
Avoid These Common Pitfalls to Protect Your Harvest
Do not over-fertilize, underwater, or skip pest checks. Green tubers mean sun exposure. Cracked potatoes signal irregular watering. Weak growth often points to poor soil or old seed. Fungal disease spreads quickly in warm, damp environments. Rotate crops and keep foliage dry. If your yield disappoints, dig into the root cause. Keep notes from season to season. Gardening success builds with experience, documentation, and a few failures turned into learning opportunities.
Treat the Potato Like a Specialty Crop
Potatoes may be humble, but they deserve serious attention. They reward detailed care with pounds of food from a small patch of earth. Start with clean seed, nurture your soil, time your watering, and hill up without fail. With the right inputs, even one raised bed can feed a family. Let your garden reflect both your effort and your curiosity. Every tuber you dig is a result of choices made months earlier. Make those choices count.
Read More: 10 Reasons Grow Bags Are a Game-Changer for Gardeners
Disclaimer: This article was created with AI assistance and edited by a human for accuracy and clarity